Process
High Poly Sculpting
I like to work organically in Blender (previously using ZBrush for high-poly sculpts) to
establish strong silhouettes and primary forms. A general rule of thumb I’ve learned is to keep
fine details smaller than three finger widths for texturing tools such as Substance Painter, to
avoid overhauling the model later in the pipeline. Details are sculpted only when they
meaningfully contribute to the silhouette or are otherwise necessary.
Sculpts are created as separate meshes to allow for easier refinement before reprojecting details
onto the lower-poly mesh. I typically use Blender’s Remeshing Tool or the Remesher plug-in, then
subdivide the mesh as needed to maintain smooth detail while keeping viewport performance
responsive.
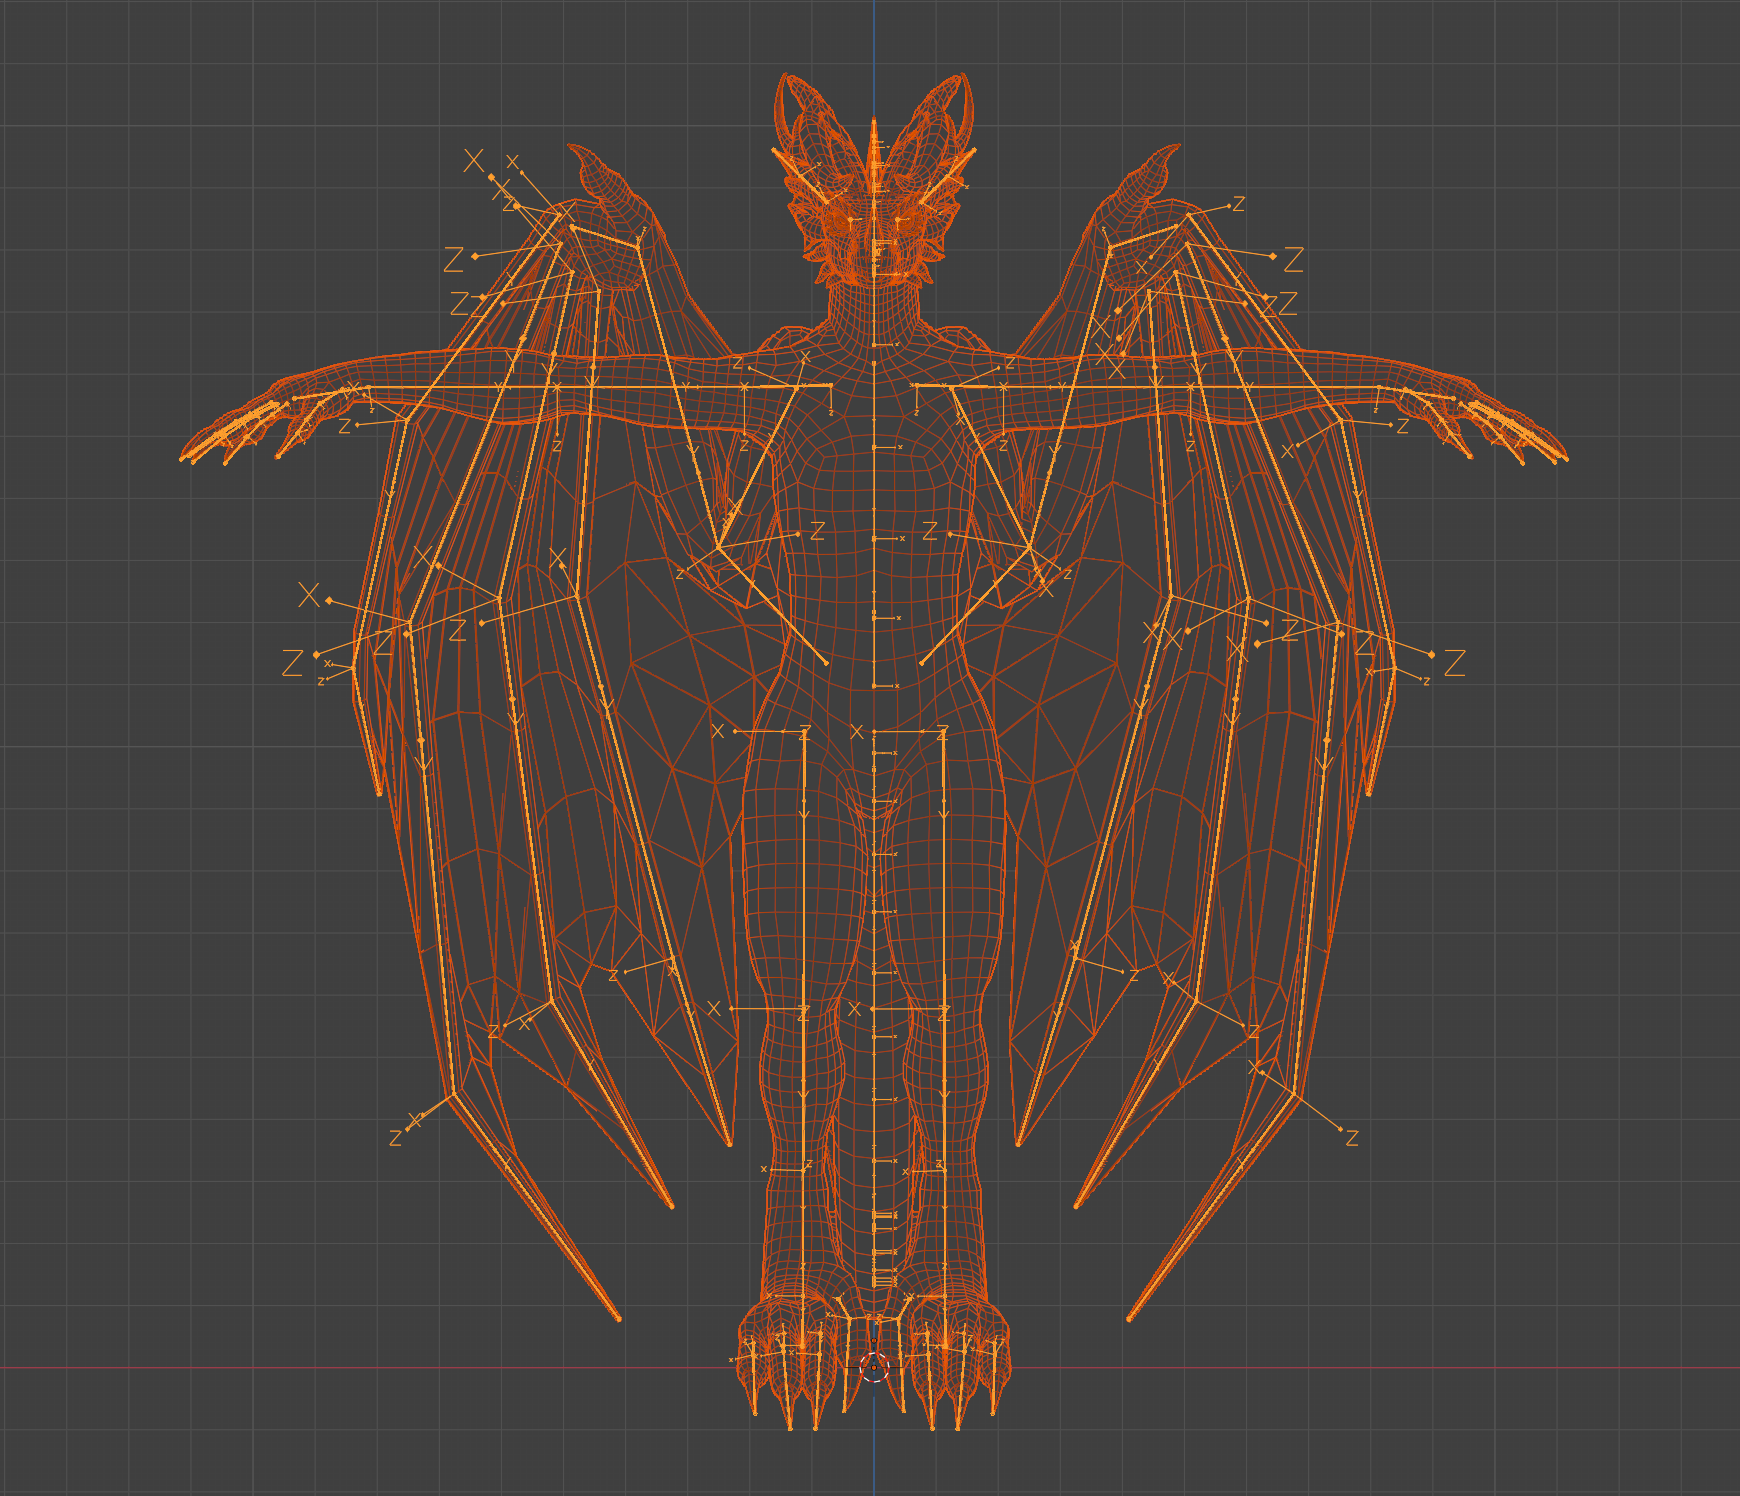
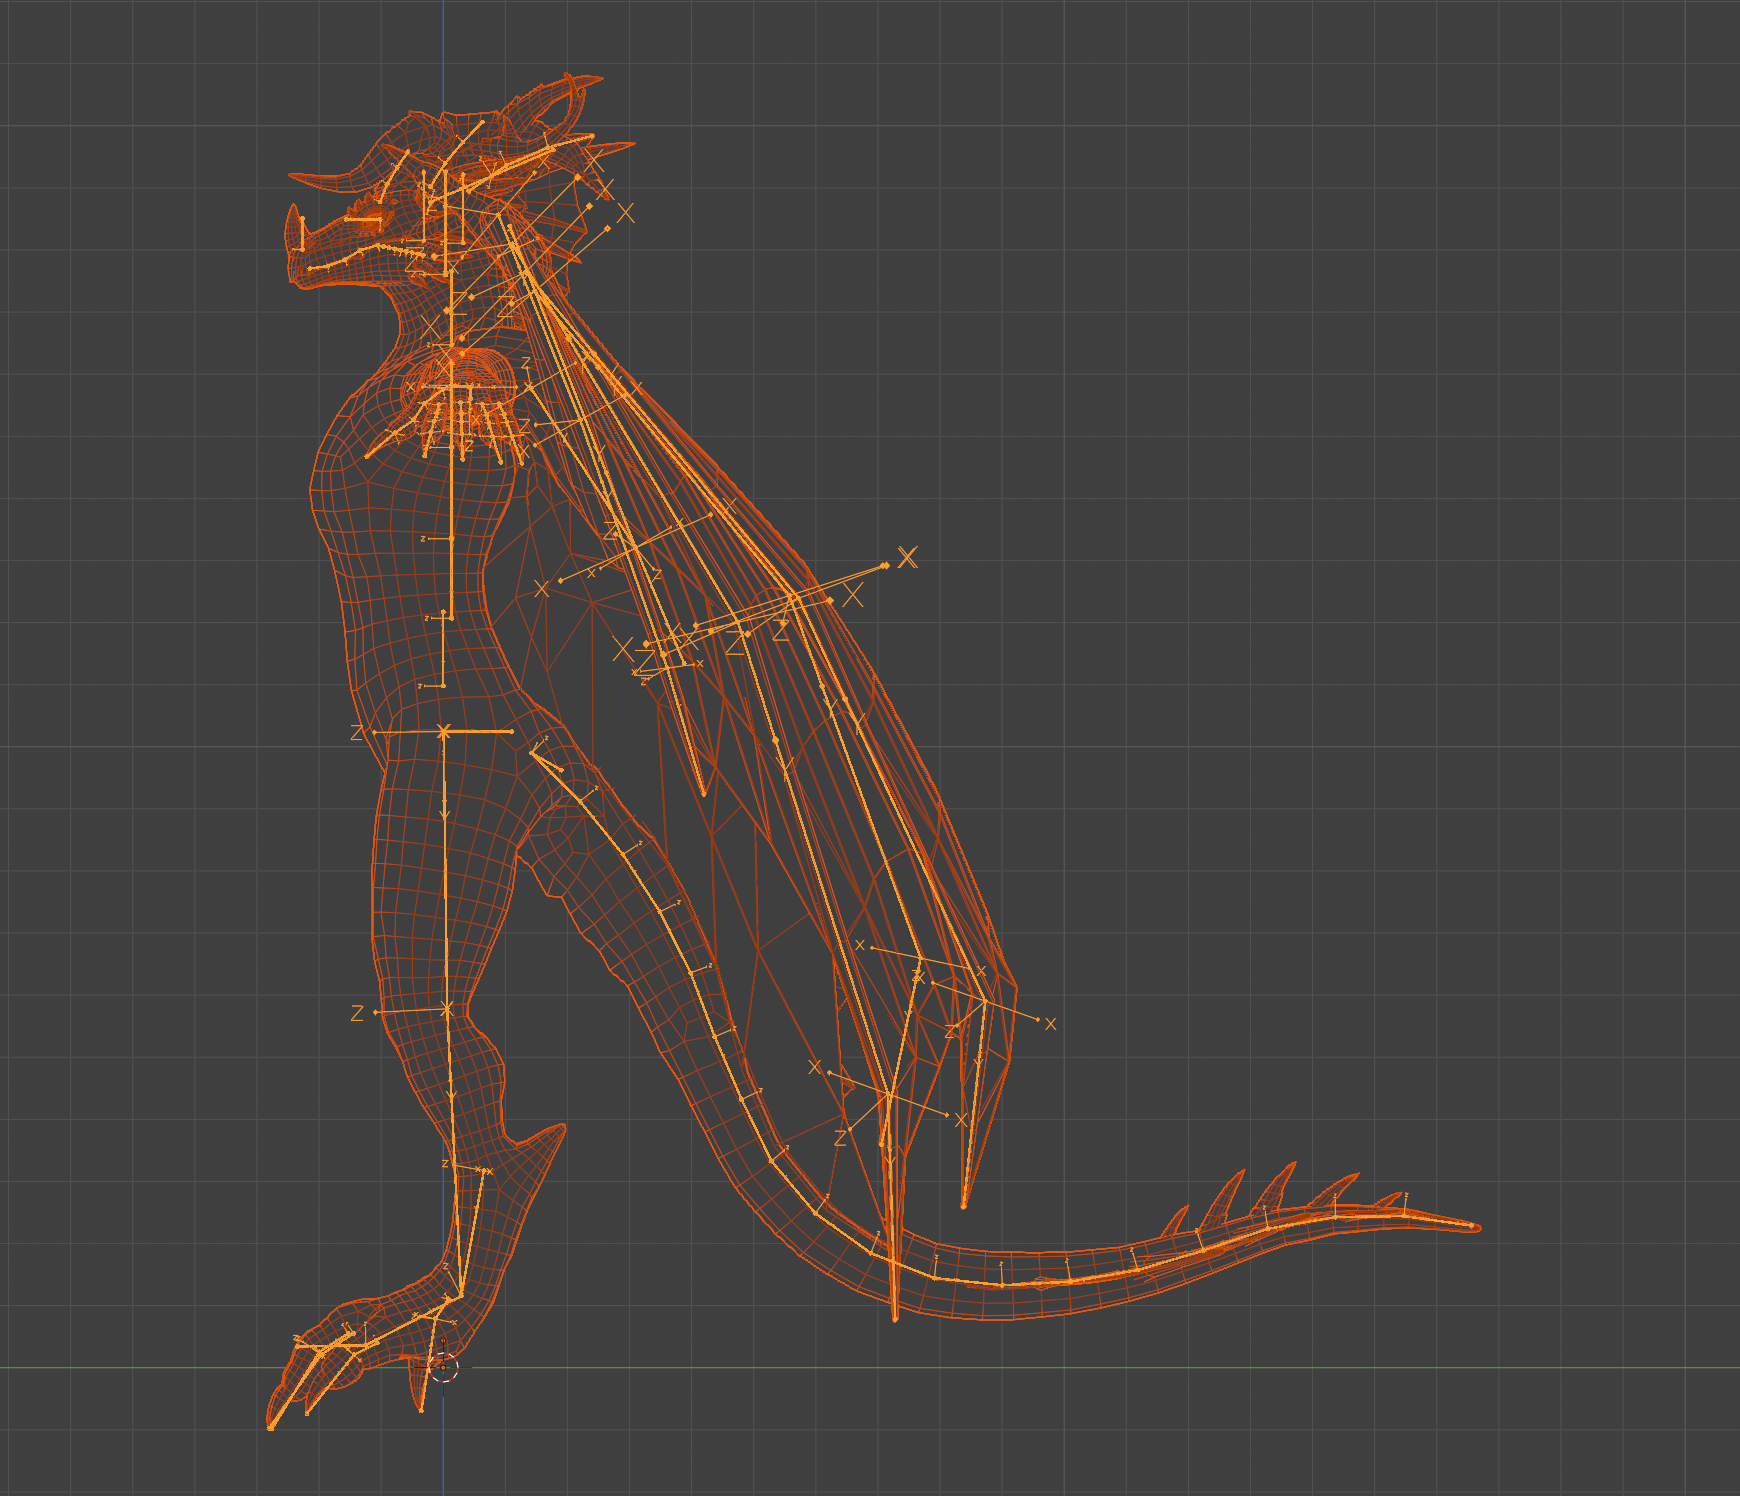
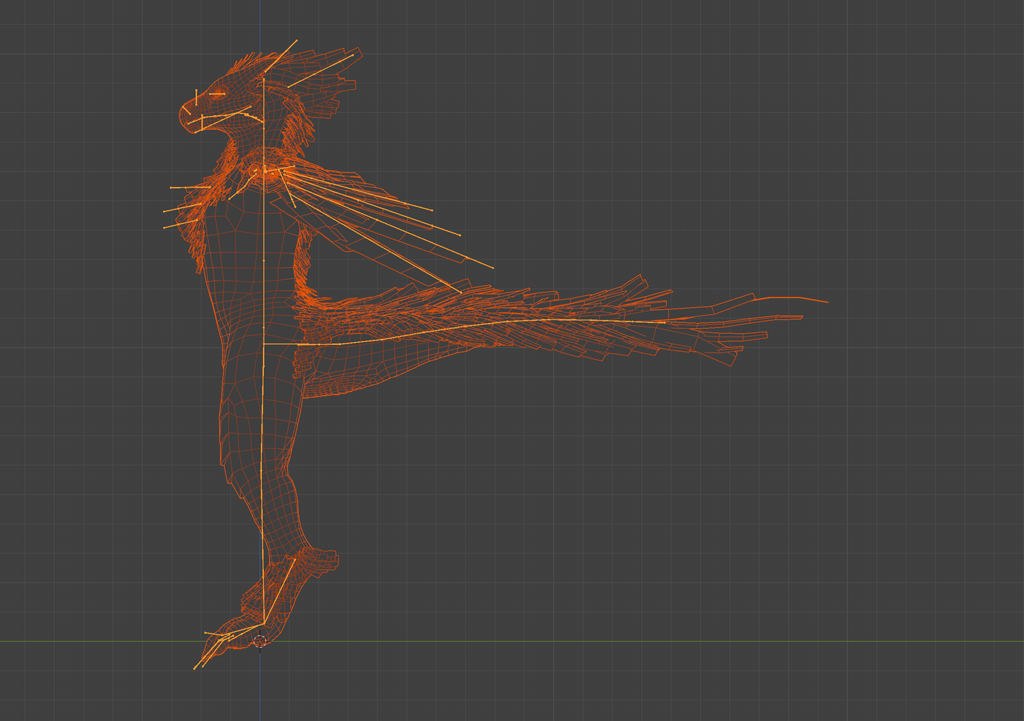
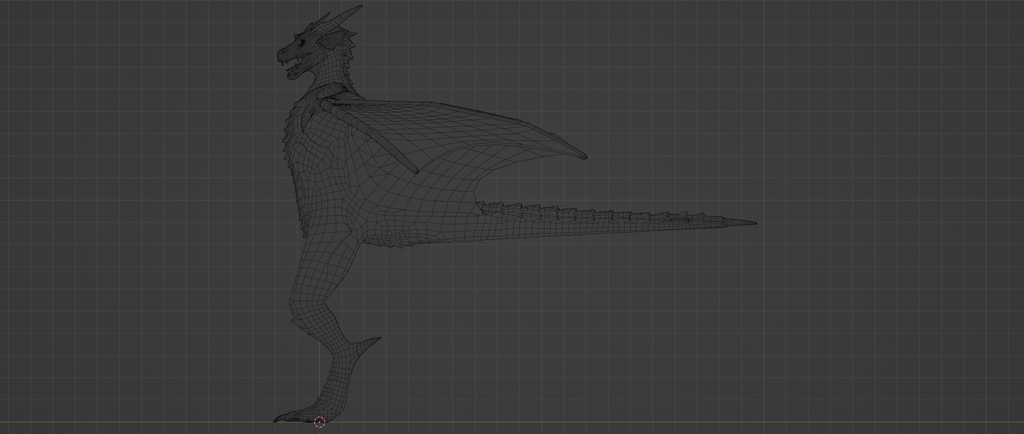
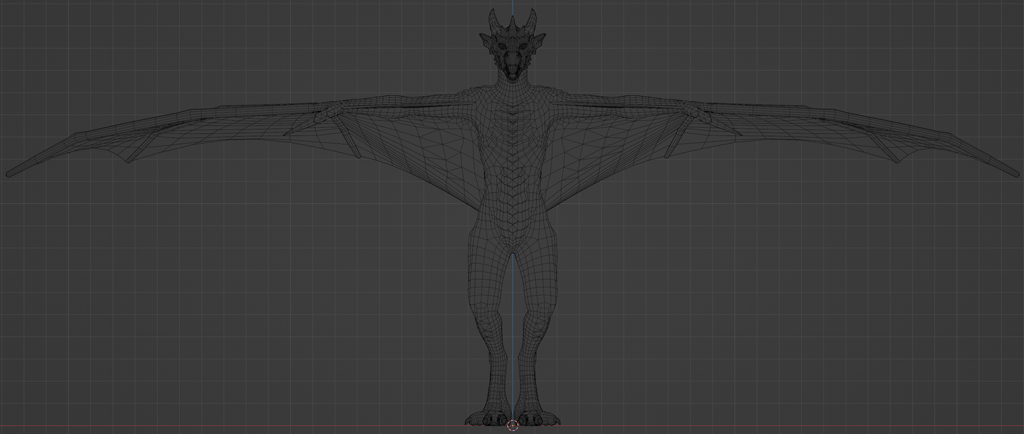
Retopology
Once the high-poly sculpt is mostly complete and no major structural changes are expected, I
begin retopology using RetopoFlow. For hero or character models, I prefer RetopoFlow because it
provides full control over topology, whereas automated remeshing does not always produce the
results I need.
After refining the topology, I reproject the high-poly details onto a subdivided low-poly version
and clean up any remaining issues. With the details transferred, I bake normal maps to begin
prototyping surface detail. Once the low-poly mesh is finalized, I proceed with UV unwrapping,
rigging, rough weight painting, blend shapes, and further prototyping.
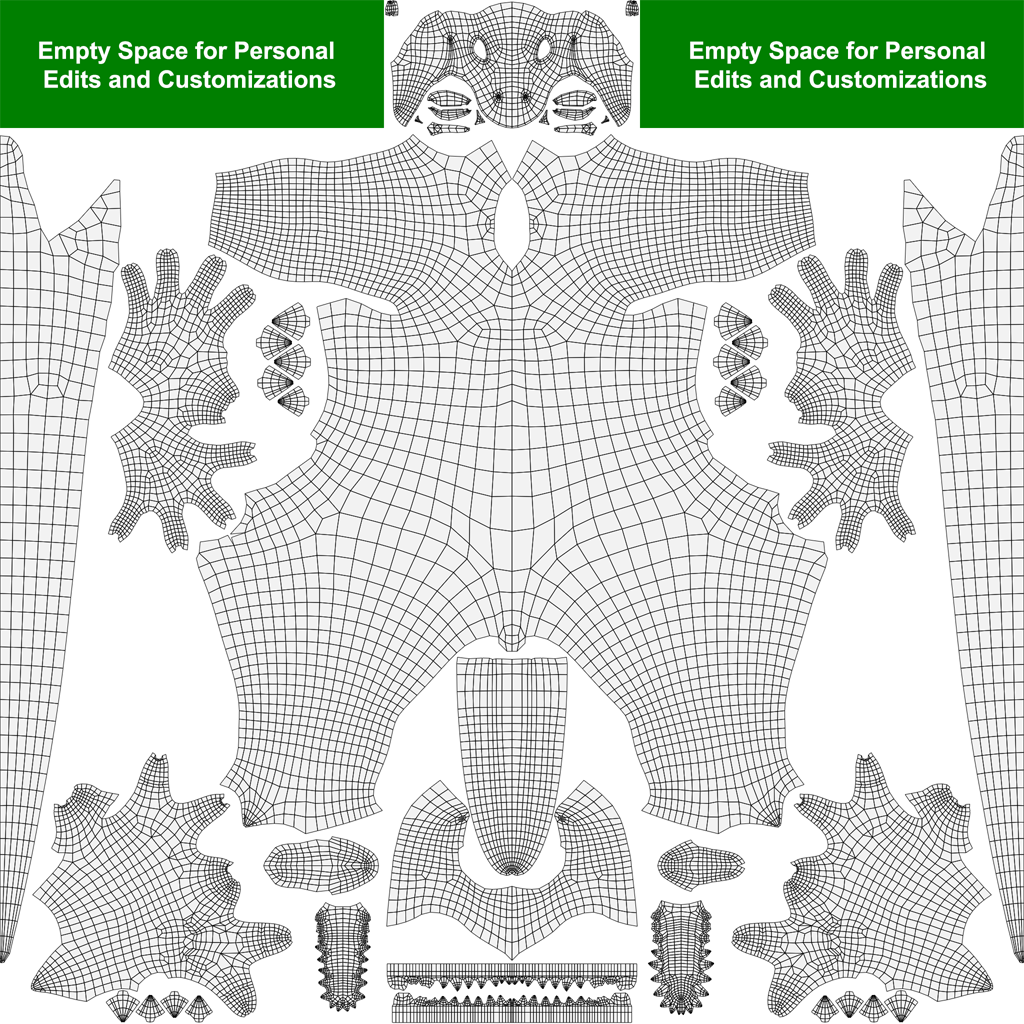
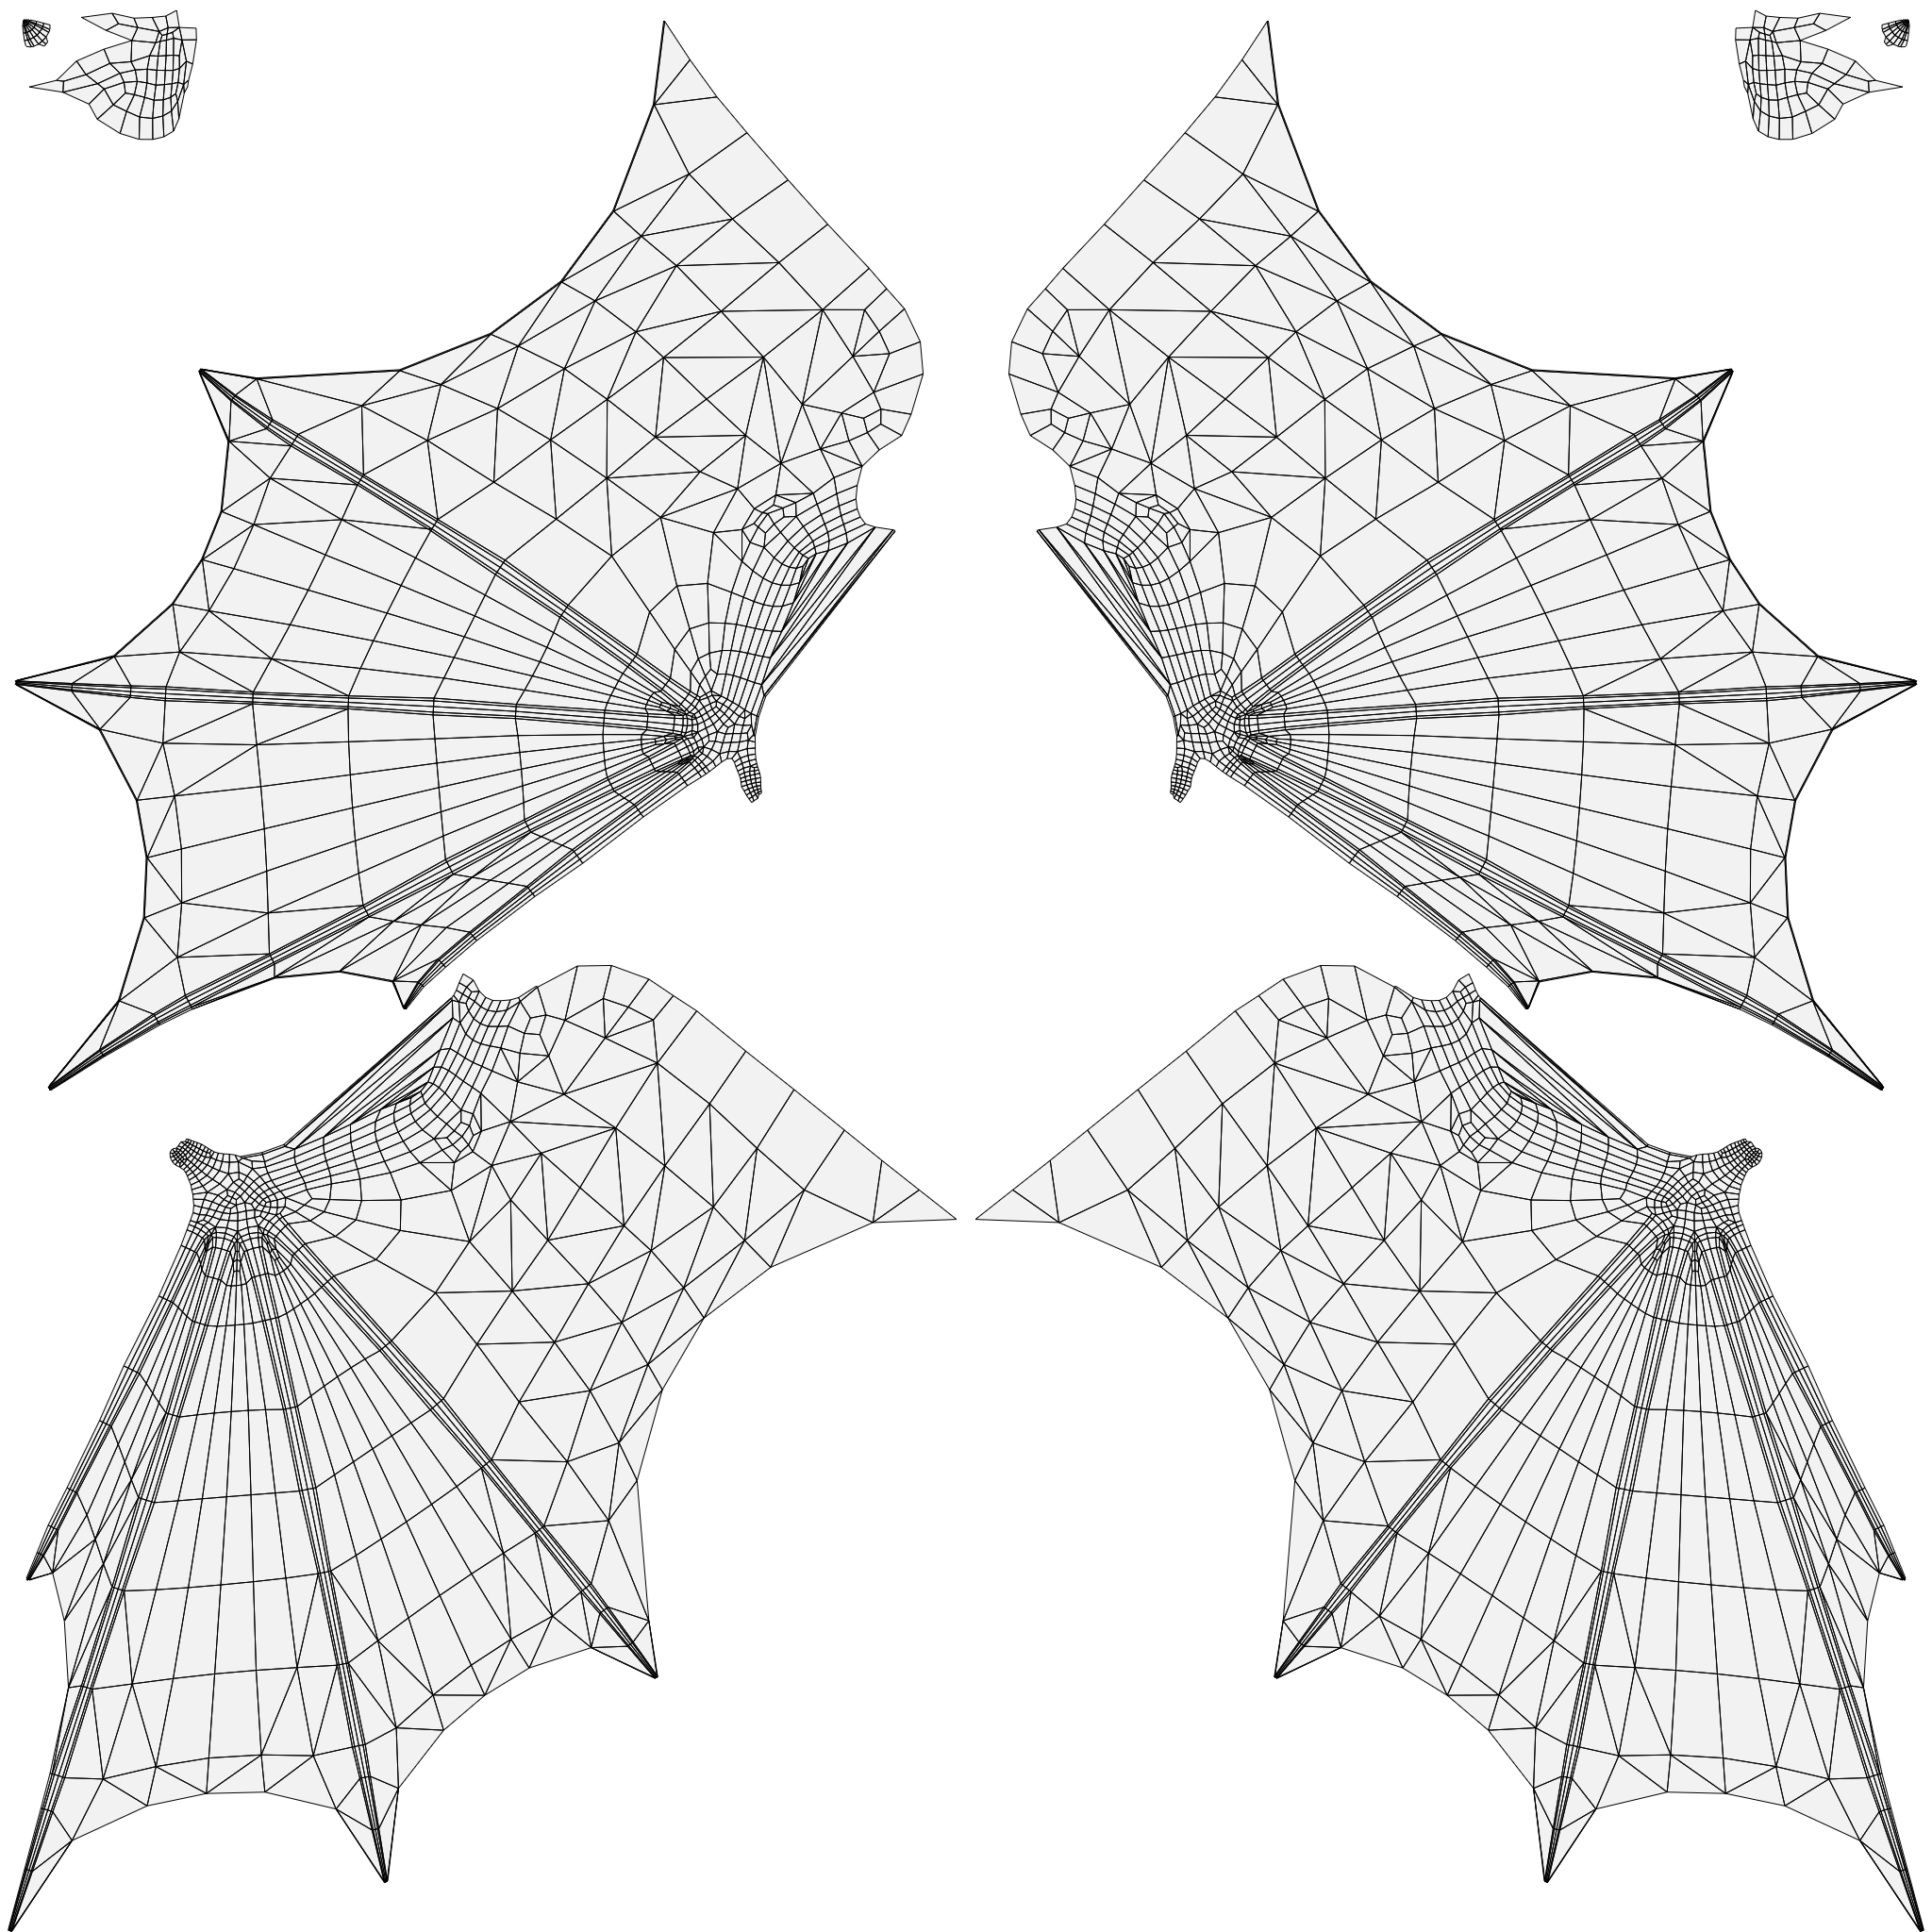
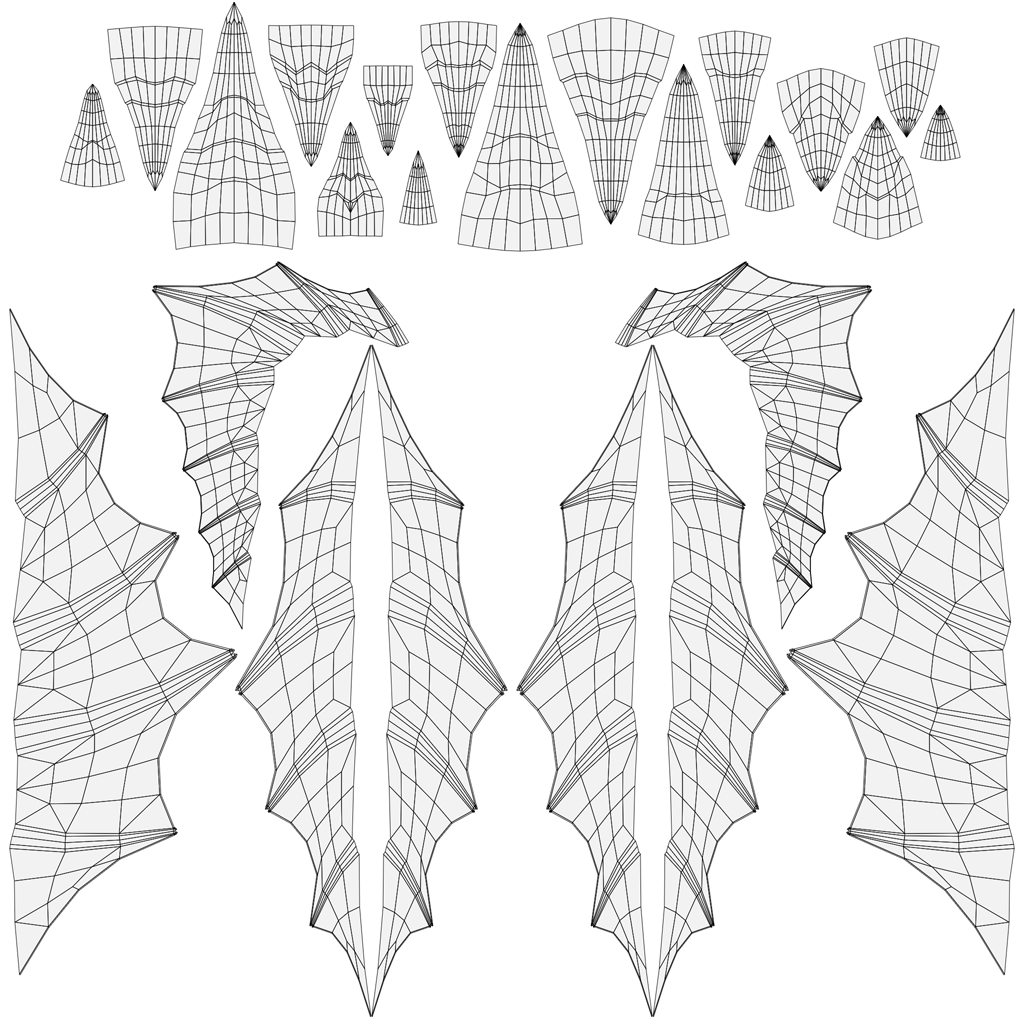
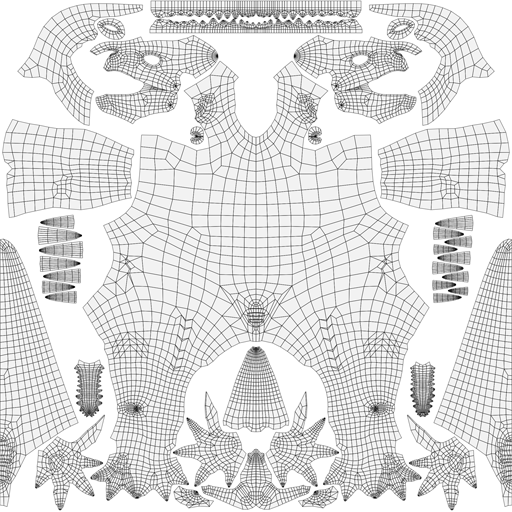
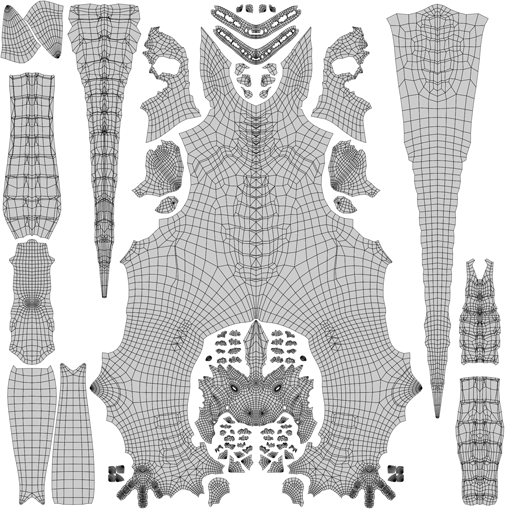
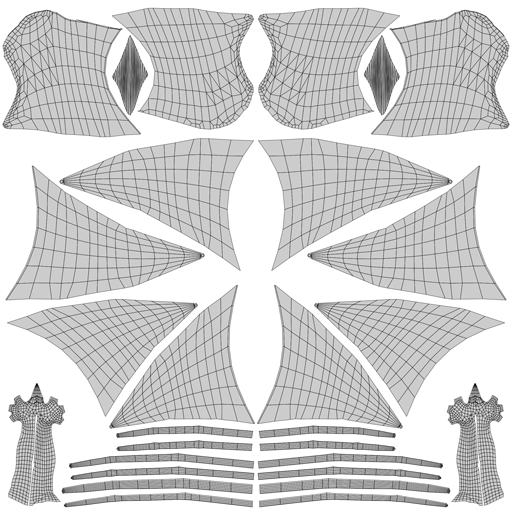
UV Unwrapping
During early prototyping, I use a quick, temporary UV unwrap. Final UV layouts vary depending on
the asset.
For avatars, I use a symmetrical UV layout to make it easier for users to edit textures and apply
their own customizations later. I also prioritize higher texel density in areas such as the
head, hands, and feet to ensure important features hold up at close viewing distances.
For generic game characters or enemies, I may reuse or mirror UVs to transfer detail to the
opposite side of the model, reducing texture size and memory usage. The head may be separated
from the body for gameplay or technical reasons. Ultimately, the UV layout is heavily influenced
by the intended use and end goal of the asset.
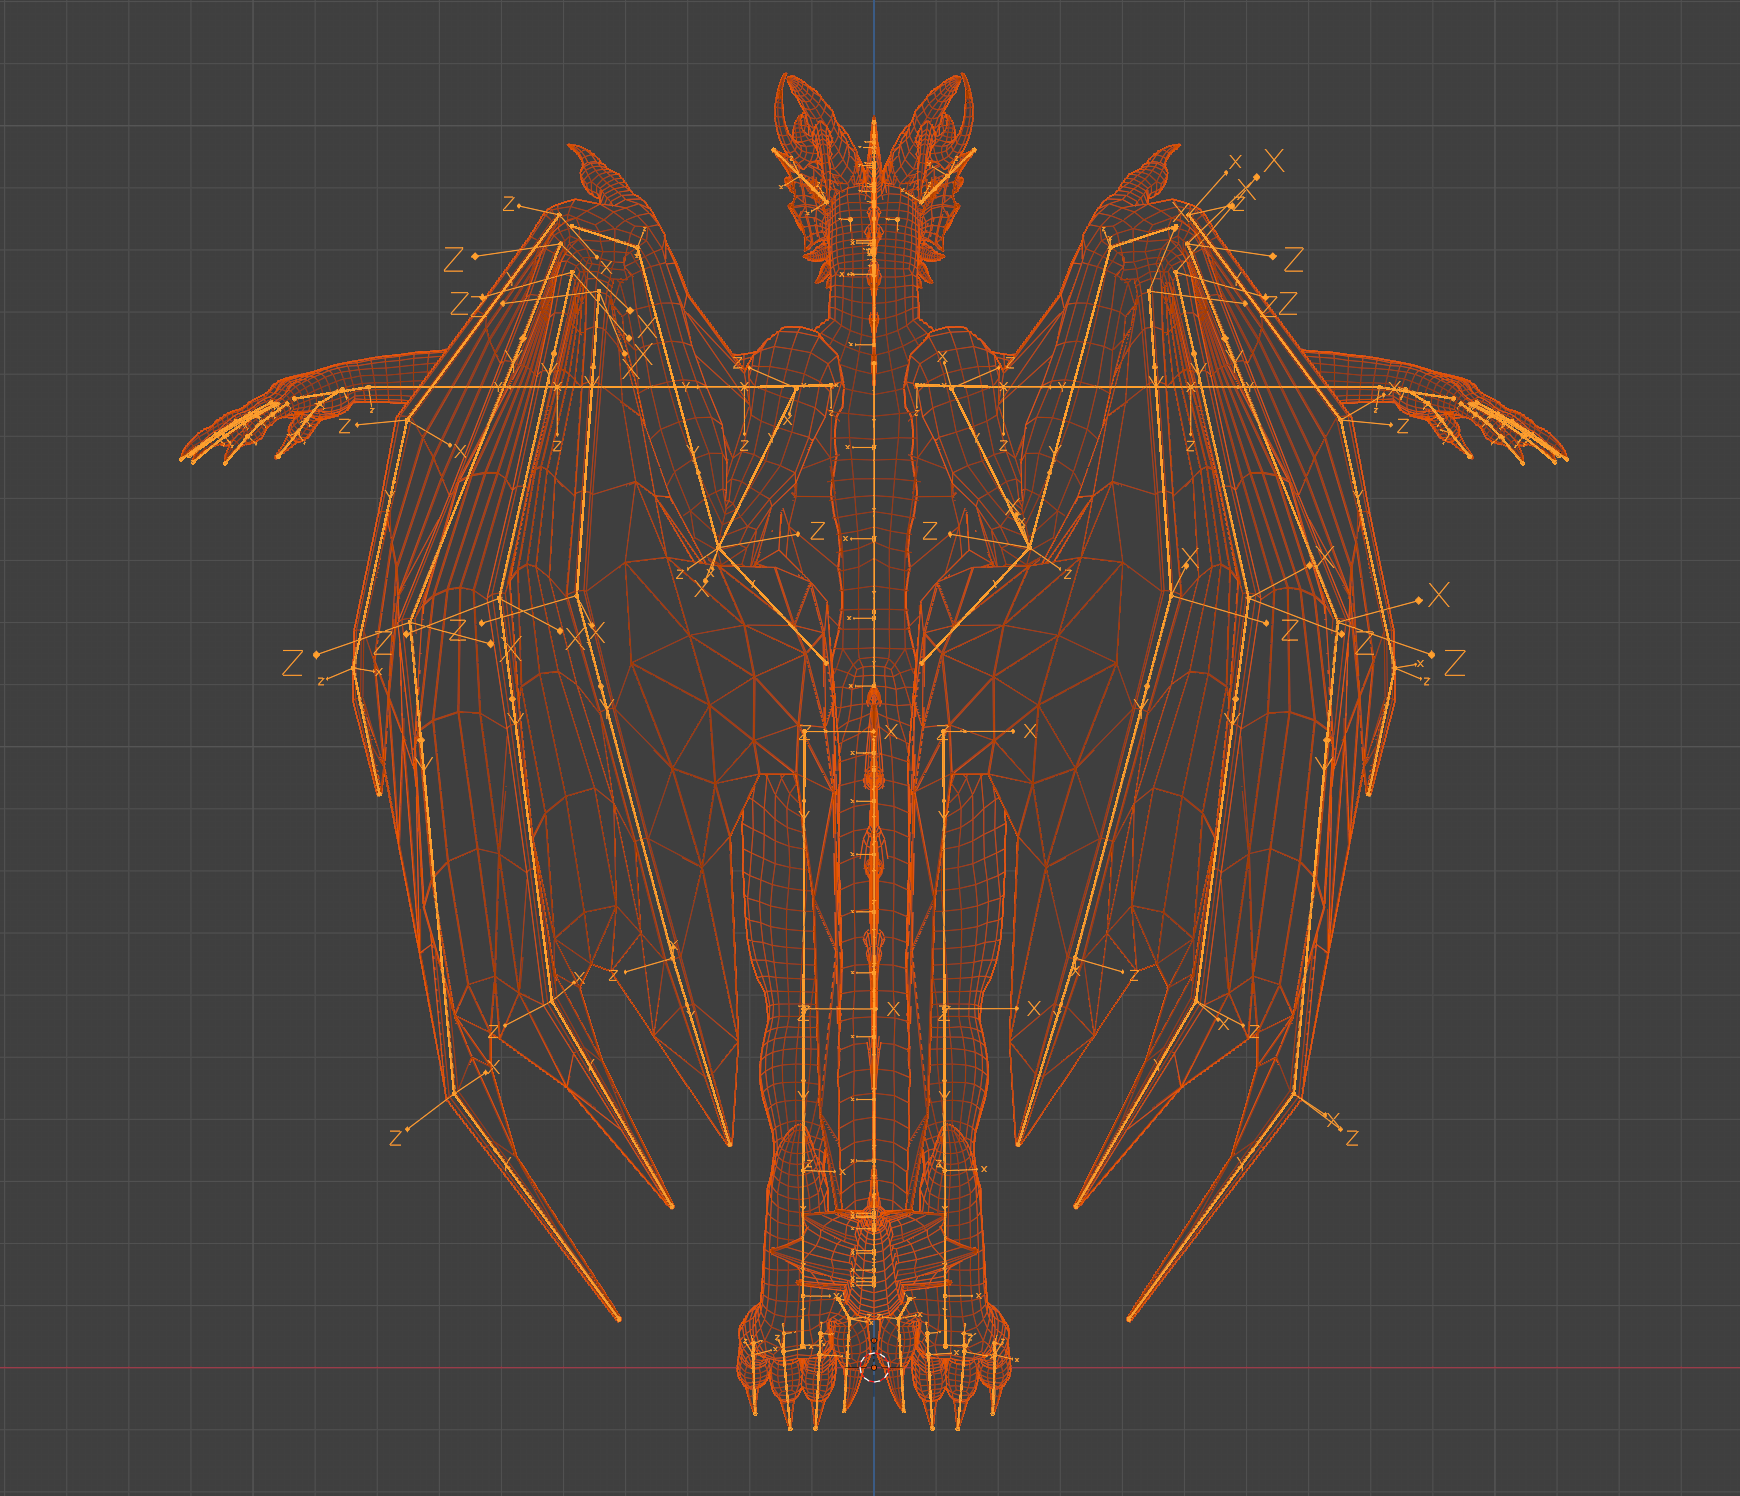
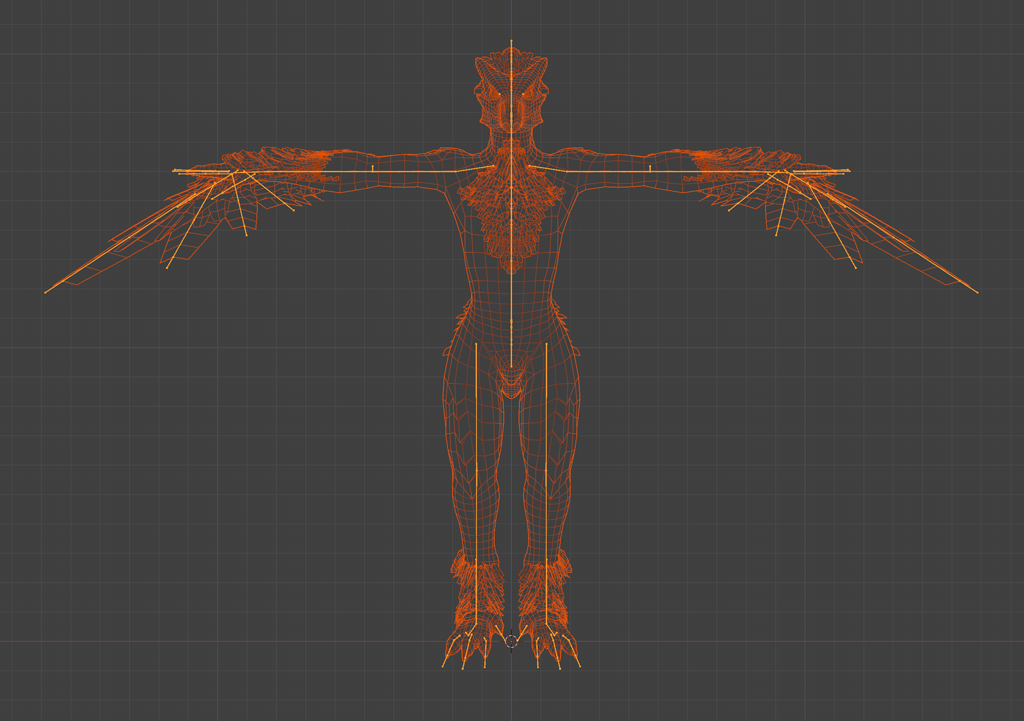
Rigging/Weight Painting
I use a standard naming convention compatible with engines such as Unreal and Unity, including
proper suffixes and clean numbering for bone chains.
Since I typically model in an A-pose and many systems require a T-pose, I create a dedicated
export animation to ensure the correct pose during export. I prefer to create animations
directly in Blender and export them to the target engine. This keeps the pipeline flowing in a
single direction, and I’ve found animation editing in DCCs to be more efficient and
flexible.
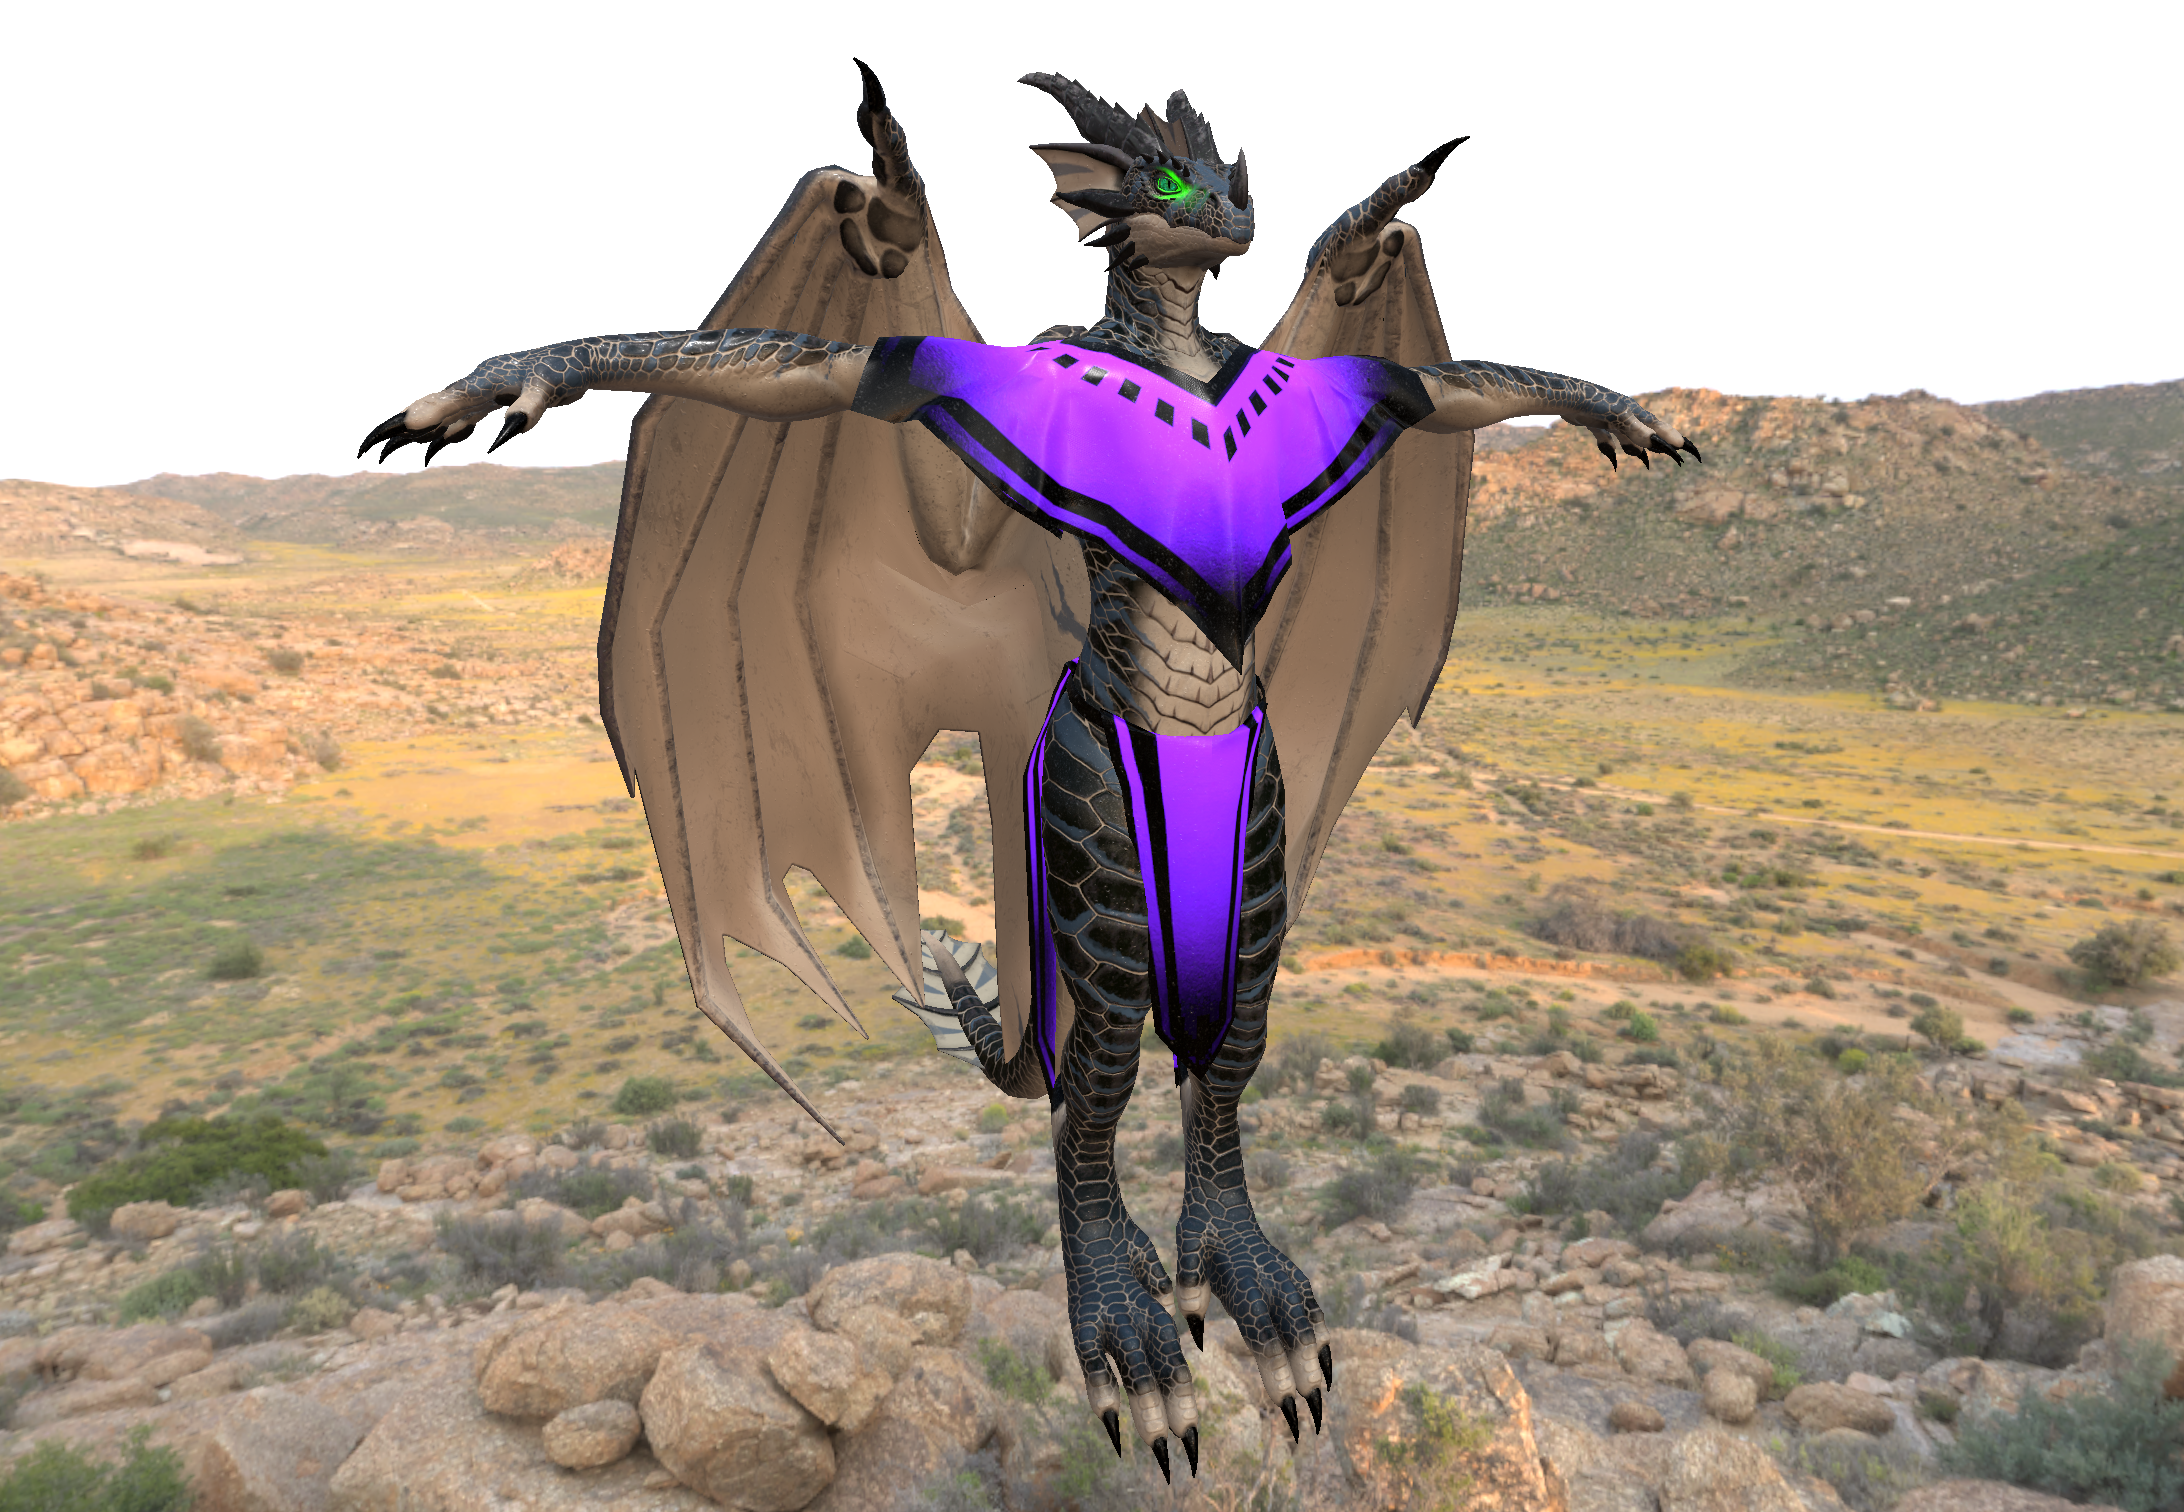
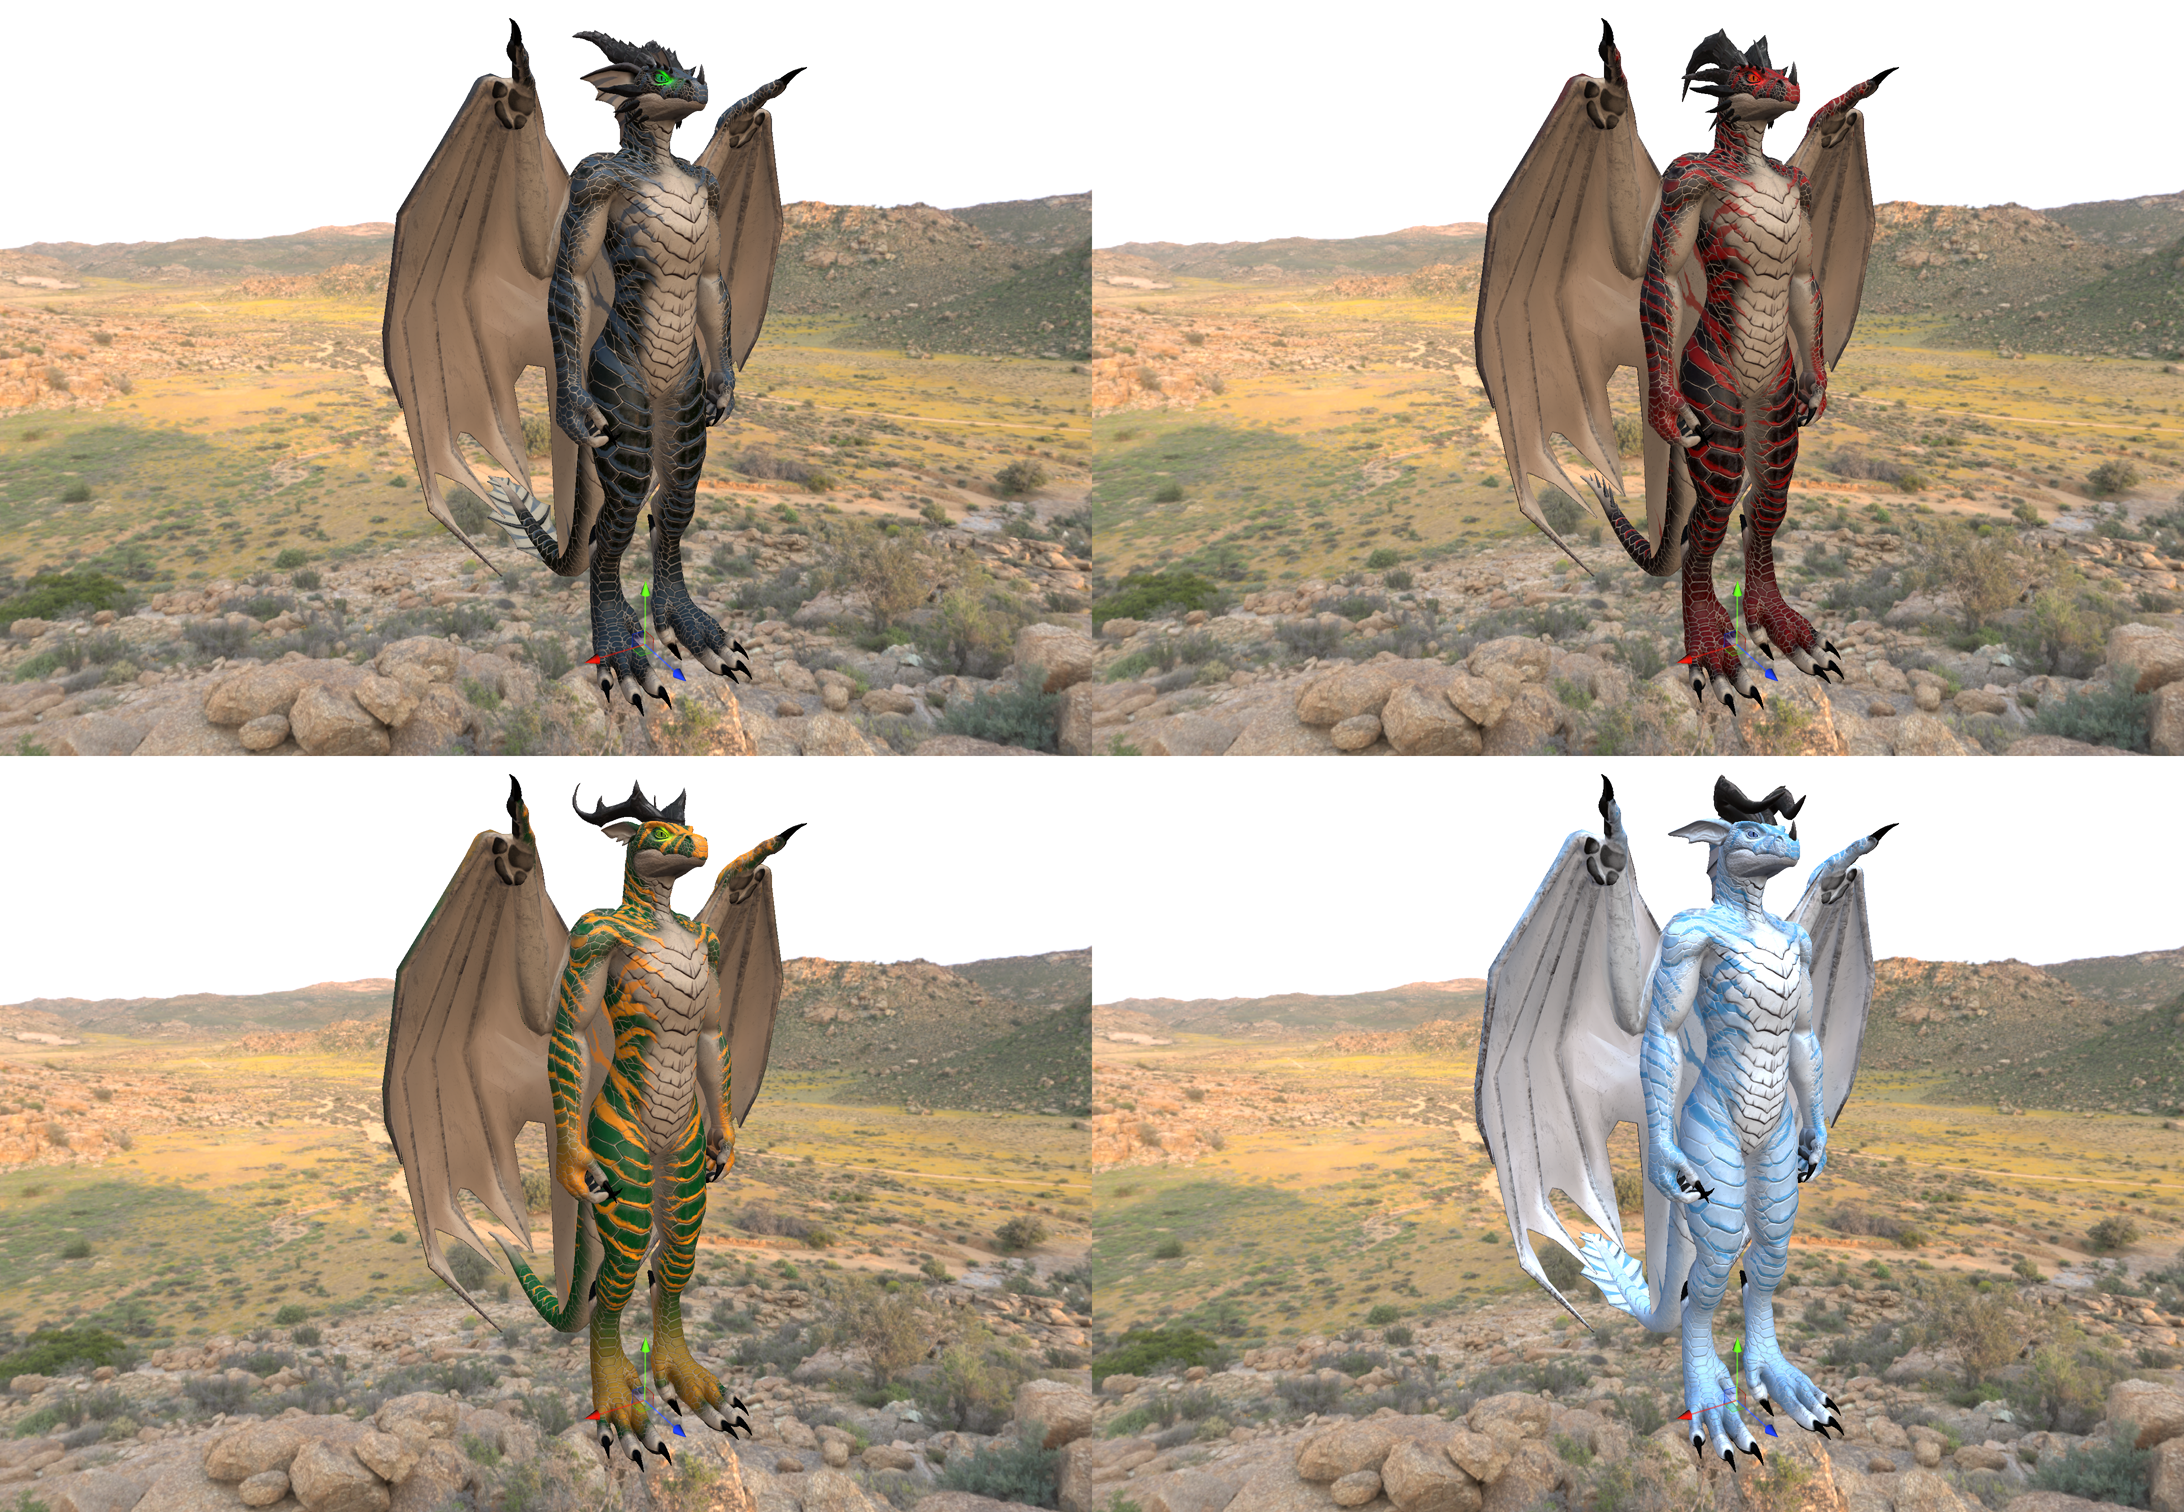
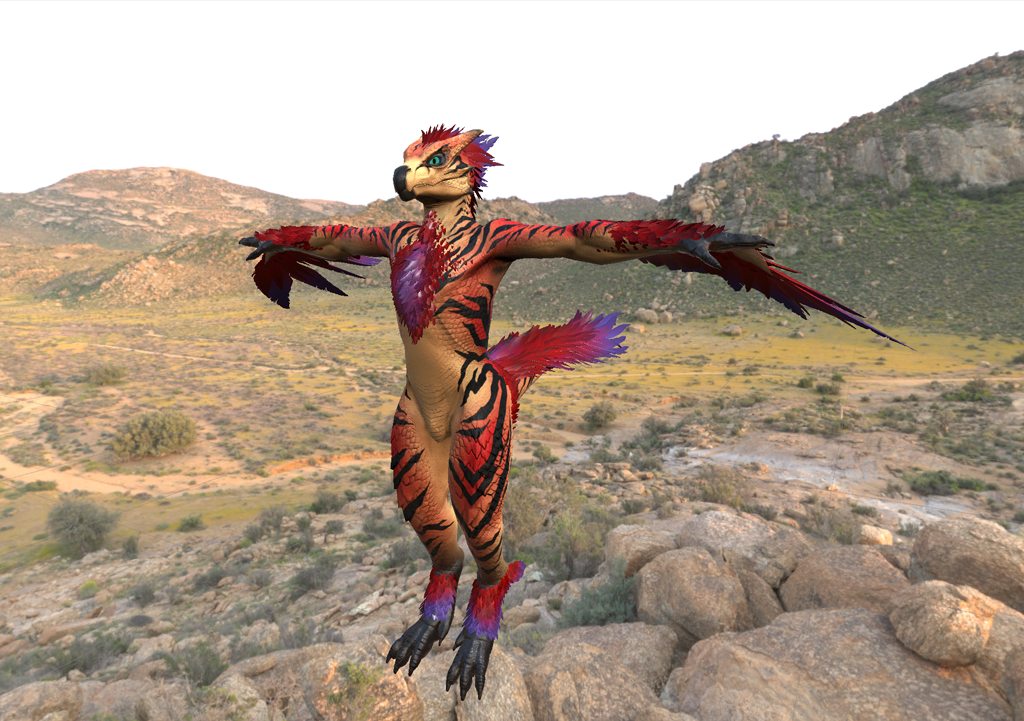
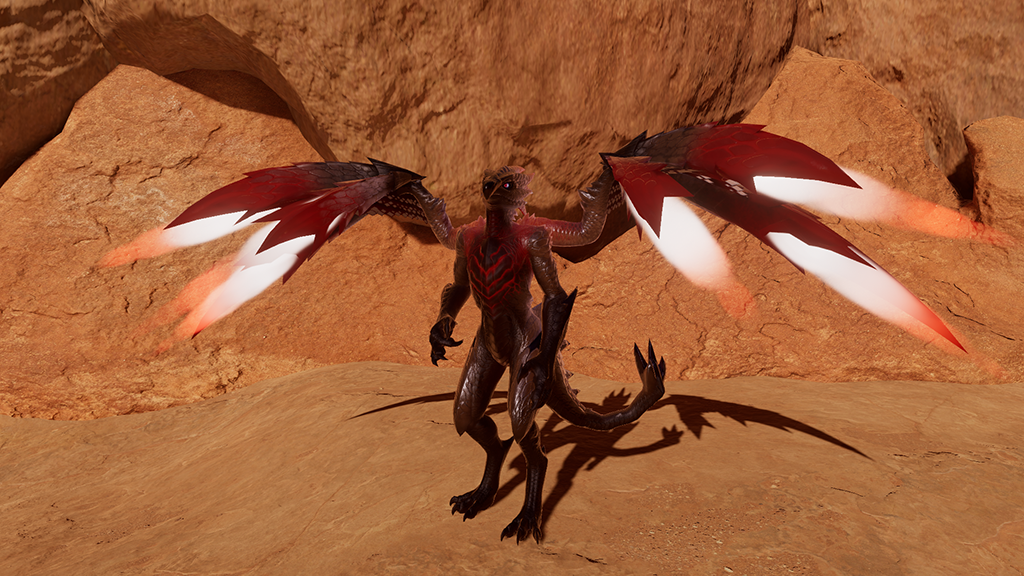
Textures/Materials
Normal maps are imported into Substance Painter, where I bake the additional maps required for
generators. I switch to studio lighting to achieve more accurate color representation. Most
materials are built using fill layers with masks and generators, allowing the procedural tools
to handle the bulk of the work. Once the base look is established, I refine specific areas
manually as needed.
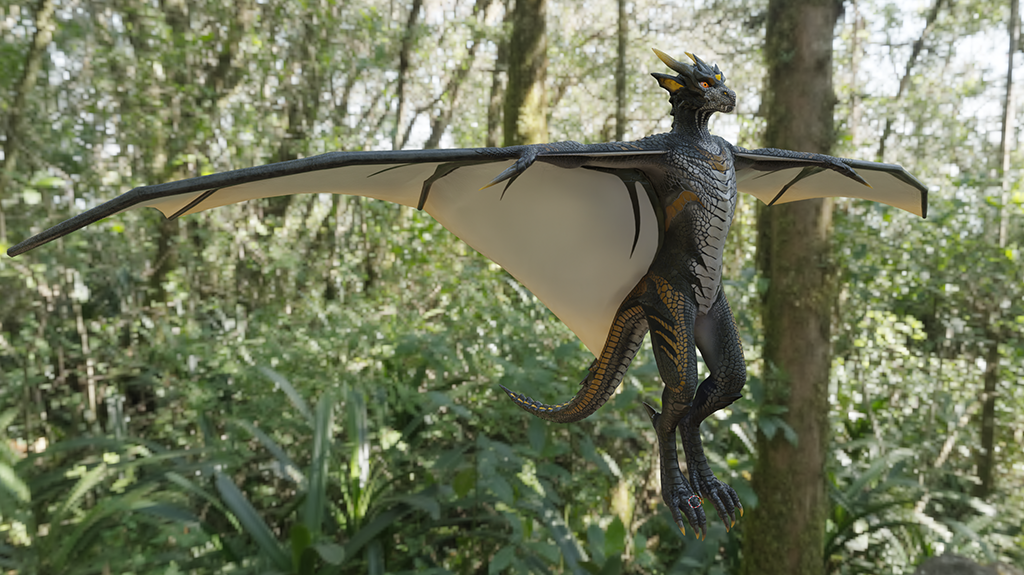
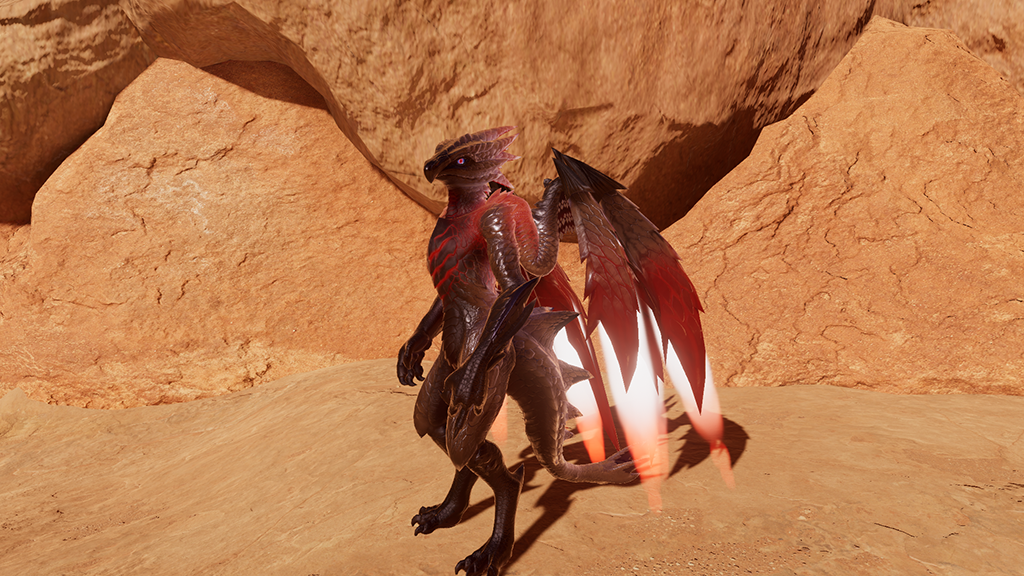
Finalizing
After exporting textures from Substance Painter, I set up materials in Blender and the target
game engine to match the Painter results as closely as possible. This ensures visual consistency
throughout the pipeline and helps confirm that what I see in Substance Painter translates
accurately to downstream tools.
Ensure that source files and game projects follow a consistent naming convention, are free of
unused data, and any necessary documentation, allowing myself and others—including clients using
avatar bases—to quickly get started without requiring my guidance or prior knowledge of the
project.